When adding security to your residential, commercial, or even industrial area with the help of vehicle loops, it's important to know what kind of loop is best for your installation. Are you doing new construction or is your installation retrofit? Do you need a permanent vehicle detection system or a temporary one? What sort of gates and barriers are you going to use in tandem with these detectors? Then there comes installation, how to order vehicle loops, how long should your loop be, the list goes on. We've created a brief guide as well as a print-out resource guide to help you find what kind of vehicle loop is right for you!
Finding the right vehicle loop: What is right for your installation?
Direct Burial Application
Direct burial loops are best suited for installations where the loop will be placed beneath a new surface. This includes fresh concrete pours, gravel or dirt roads, under pavers, or beneath new asphalt layers.Install these loops before the final surface is poured or installed, making them ideal for new construction or major resurfacing. Do not use this method if you're installing loops on existing pavement - use the Saw-Cut Application instead.
- Use for new surfaces like poured concrete or asphalt.
- Not for existing roads - see Saw-Cut Application instead.
- Ideal for projects before surface materials are applied.
Saw-Cut Application
Saw-cut loops are designed for existing concrete or asphalt surfaces. Install the loop wire by cutting a groove into the surface, inserting the loop, and sealing it with loop sealant. This method is most common for retrofits or upgrades, where the surface is already in place and cannot be disturbed.
- Use for existing surfaces like finished roads or driveways.
- Loops are cut into the surface and sealed in place.
- Don't use if you're laying a new surface - go with Direct Burial.
Surface Mount Application
Surface-mounted vehicle loops are detection systems placed directly on top of road surfaces. Unlike traditional loops that require cutting into the pavement, these sit above ground, making them ideal for areas where cutting the pavement is risky or prohibited. Generally they are ideal for retrofit (pre-existing) installations.
- Use for existing surfaces like finished roads or driveways
- Loops placed wherever they are needed and can be deployed or moved with ease
- Can be used as a permanent solution, but Direct Burial or Saw-Cut is recommended
Important Notes Regarding Loop Layouts By Installation Setting
Slide Gates
Slide gates need a minimum of two loops: an inside reverse loop (or exit loop) and an outside reverse loop. These loops keep the gate open or reopen it if a vehicle is in the path. If desired, the inside reverse loop can be connected to the exit loop function. The exit loop also opens the gate automatically when a vehicle drives over it. For driveways with a long approach, adding an extra exit loop farther away improves user experience by opening the gate sooner.
Key Notes:
- Minimum 2 loops: inside + outside reverse or exit loops.
- Exit loop adds automatic gate opening when approached.
- Add an extra exit loop on long driveways for faster response.
Swing Gates
Swing gates require a minimum of three loops: an inside reverse loop (or exit loop), a shadow loop, and an outside reverse loop. Reverse loops hold or reopen the gate if a vehicle is detected. The shadow loop checks for vehicles before the gate starts moving, but becomes inactive during motion, which is why the other loops are critical. As with other gate types, an extra exit loop on long approaches helps reduce wait times.
Key Notes:
- Minimum 3 loops: inside reverse/exit, shadow, and outside reverse.
- Shadow loop only works when the gate is not in motion.
- Add an extra exit loop on long driveways for convenience.
Overhead Doors
Overhead doors also require two loops: an inside reverse loop (or exit loop) and an outside reverse loop. These loops prevent the door from closing if a vehicle is in the path and can reopen it if necessary. The exit loop can also trigger the door to open automatically. Keep loops at least 4 feet apart for sites with multiple doors to prevent interference. Adding an exit loop on long approaches opens doors before vehicles arrive.
Key Notes:
- Minimum 2 loops: inside + outside reverse or exit loops.
- Exit loop adds automatic opening functionality.
- Maintain 4 feet between loops when installing near multiple doors.
- Add an extra exit loop for faster access on long driveways.
Vertical Pivot Gates
Vertical pivot gates require at least two loops: an inside reverse loop (or exit loop) and an outside reverse loop. These loops perform the same function as other gate types - holding the gate open or reversing it if a vehicle enters the detection zone. If desired, the inside reverse loop can double as an exit loop. Adding an extra exit loop provides a smoother exit experience for properties with long approaches.
Key Notes:
- Minimum 2 loops: inside + outside reverse or exit loops.
- Inside reverse can be used as an exit loop.
- Install an extra exit loop on long driveways to reduce wait time.
How to order a vehicle loop?
Once you've decided on the right kind of vehicle loop for your residential, commercial, or industrial facility, it's important to know how to read a vehicle loop sku from National Loop Company. This ensures that you are informed on what you are buying as well as ensuring that your installation can be done on time and at the right cost!
SKU Prefix:
Each sku starts with the letters E-, K-, P-, or X- (the suffix) which all correlate to a designated type of loop followed by "-NL-". NL refers to the brand National Loop company to properly differentiate it against other brands of loops.
- E = Preformed Direct Burial / Paveover Loops in Flexible LT Conduit (18AWG white E-NL)
- K = 14 GA Preformed Direct Burial Loop-DB Rated Cable w/Protected Lead
- P = Preformed Saw Cut Loops (18AWG white P-NL)
- X = Preformed Saw Cut Loops (18AWG black X-NL) OR Preformed Saw Cut Loops (14AWG black X-NL) *dependent on the middle number of the sku. Ex. X-NL15-18-250 versus X-NL10-14-30
Reading the Numbers:
Following "NL" will be three sets of numbers. These numbers represent three different measurements that will help determine the length of the loop, the lead-in wire, and the gauge of the loop.
Vehicle Loops 2' X 6' (18 Gauge) Preformed Saw Cut Loop with 20' Lead-In Wire - Fits 3/16" Slot
X-NL08-18-20
- First Set: Following "NL" will be a number such as 08 as seen above. This number represents half of the total length of the loop which is roughly how much of the driveway width it will cover, so in the example above, the loop is 16 ft.
- Second Set: The second number will always be a 14 or an 18. This represents the thickness (gauge) of the wire, either 14 gauge or 18 gauge. In this example, we can see that it says 18, so this is an 18 gauge loop.
- Third Set: The last number set represents the length of the lead-in wire. In this example, the wire is 20 ft.
Driveway Length suggestions
When choosing a vehicle loop, it is highly recommended that when choosing your loop size that you double your driveway length and add roughly 1-4ft depending on your preference. This ensures that the entire length of your driveway is covered properly with some extra room to spare just in case.
Small to Medium Driveways
| Driveway Length | Total Loop Length | SKU Suffix |
|---|---|---|
| 8ft. | 18ft. | NL09 |
| 9ft. | 24ft. | NL12 |
| 10ft. | 24ft. | NL12 |
| 11ft. | 28ft. | NL14 |
| 12ft. | 28ft. | NL14 |
| 13ft. | 32ft. | NL16 |
| 14ft. | 32ft. | NL16 |
| 15ft. | 36ft. | NL18 |
| 16ft. | 36ft. | NL18 |
| 17ft. | 40ft. | NL20 |
| 18ft. | 40ft. | NL20 |
| 19ft. | 44ft. | NL22 |
| 20ft. | 44ft. | NL22 |
| 21ft. | 46ft. | NL23 |
Large Driveways
| Driveway Length | Total Loop Length | SKU Suffix |
|---|---|---|
| 22ft. | 48ft. | NL24 |
| 23ft. | 52ft. | NL26 |
| 24ft. | 52ft. | NL26 |
| 25ft. | 55ft. | NL27/28 |
| 26ft. | 56ft. | NL28 |
| 27ft. | 58ft. | NL29 |
| 28ft. | 60ft. | NL30 |
| 29ft. | 62ft. | NL31 |
| 30ft. | 64ft. | NL32 |
| 31ft. | 66ft. | NL33 |
| 32ft. | 68ft. | NL34 |
| 33ft. | 70ft. | NL35 |
| 34ft. | 72ft. | NL36 |
| 35ft. | 74ft. | NL37 |
Vehicle Loop Installation Sealants & Calculator
When installing your vehicle loops, it's important to protect them from the elements, pressure, and debris. While most loops already come with a protective casing over them, this alone is not enough to protect them from the everyday stresses of several ton vehicles driving over them. This is why it's crucial that you bury and seal them properly using either sand or sealant to prevent ware and decay of your vehicle loops so you don't have to dig them out! That said, you don't want to go overboard on purchasing materials you don't need or use the improper amount, thus why we've created a simple, brief guide on calculating the amount of sealant or sand you need to properly install your direct burial or saw-cut loops.
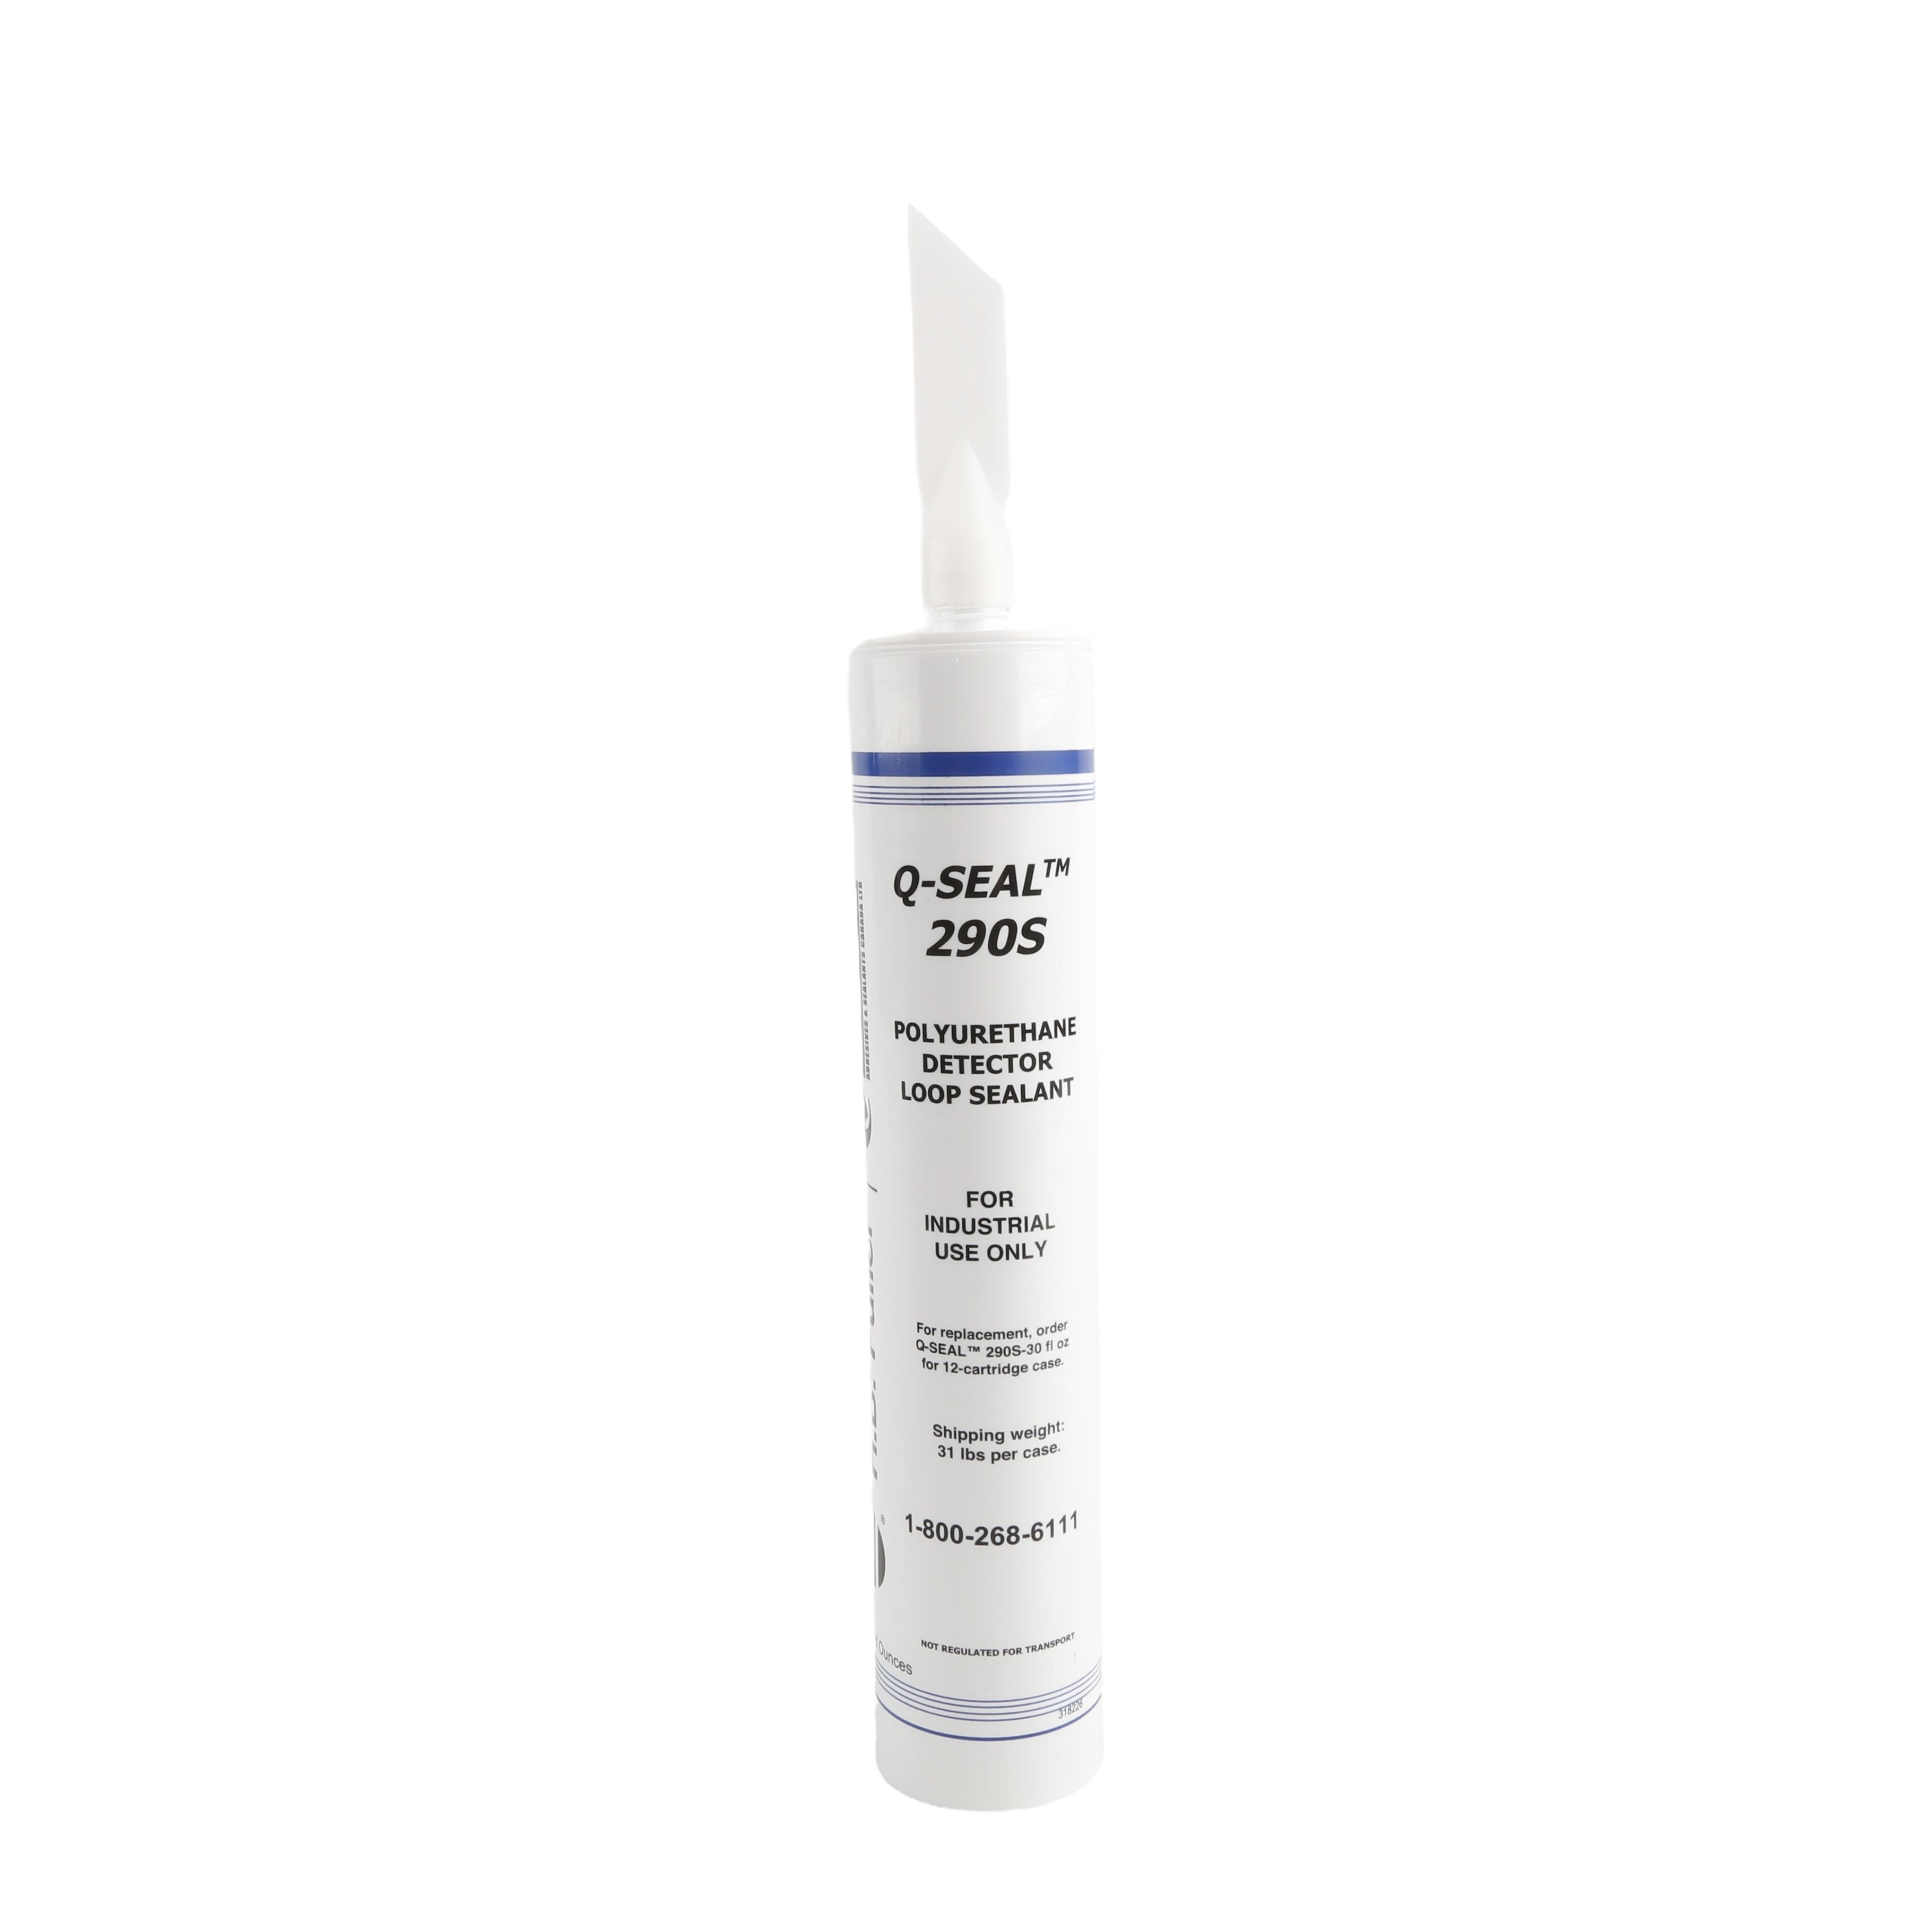
Vehicle Loops Q-Seal Sealant
The Vehicle Loops Q-Seal Sealant is professional-grade sealant designed to protect loop wire installations in various conditions. The Shield Caulk Sealant features a self-leveling, UV- and weather-resistant polymer formula that adheres to surfaces like concrete, asphalt, and brick and can even be applied to damp areas. It comes in a 30oz tube with applicator tips and is made in the USA from 100% solid materials that won't shrink. Q290 is available in both black or gray depending on your surface finish, allowing your loop installation to appear nearly seamless and as professional as possible.
Shop All Loop Accessories

How Much Loop Sealant Do You Need?
To determine how many tubes of sealant you need, you'll need to know:
- Groove Width (in inches)
- Groove Depth (in inches)
- Loop Perimeter (in feet)
- Lead-in Length (in feet)
- Sealant Volume per Tube
Sealant Tubes = (Total Groove Length in Feet x 12) x (Groove Width in Inches x Groove Depth in Inches) / Sealant Tube Volume (in³)
Let's do some quick conversions to help get everything in the correct units first:
- Loop Perimeter + Lead-In Length = Total Groove Length
- Total Groove Length x 12 (to convert into inches)
- Groove Width x Groove Depth x Groove Length = Groove Volume
Great! Now let's consider sealant volume:
Sealant Volume Per Tube (Approximate):
Q290 (30oz Caulk Tube): 30 fl. oz. x 1.805 = 54.15 cubic inches
So now we have simplified the formula to:
Sealant Tubes = Groove Volume / Sealant Tube Volume.
Follow along with the example calculation:
Example Calculation:
Let's say you're installing a 20 ft loop with a 50 ft lead-in:
- Groove Width: 0.25" (1/4")
- Groove Depth: 1.5"
- Loop Perimeter: 30 ft
- Lead-in Length: 20 ft
- You want to use Q290 (30 oz caulk tube): 54.15 cubic inches of sealant
- Total Groove Length = Loop Perimeter + Lead-In Length
30 ft + 20 ft = 50 ft - Total Groove Length in Inches = Total Groove Length x 12
50 ft x 12 in = 600 in - Groove Volume = Groove Width x Groove Depth x Groove Length
.25" x 1.5" x 600" = 225" cubed cubic inches - Number of Tubes Needed = Groove Volume / Sealant Tube Volume
225" cubed cubic inches / 54.15 cubic inches = 4.16 tubes of sealant - Round 4.16 up to 5 and buy an extra to account for what doesn't make it out of the tube and spillage. = 6 total tubes of sealant
Replace any of these variables with your project requirements/needs to calculate the number of tubes of sealant you will need for a proper and secure installation.
How Much Sand Do You Need for Direct Burial Loops?
Dry sand fully surrounds and protects direct burial loops inside the trench. To determine how many bags of sand you'll need, gather the following info:
- Loop Perimeter (in feet)
- Lead-in Length (in feet)
- Trench Width (in inches)
- Trench Depth (in inches)
- Volume per Bag of Sand (in cubic feet)
Sand Volume (cubic feet) = ((Loop Perimeter + Lead-In Length) x 12) x (Trench Width x Trench Depth) / 1728
We calculate the trench volume in cubic inches, then convert it to cubic feet (since one cubic foot = 1728 cubic inches). Once you know the total volume, divide by the volume each sandbag covers to get the total number of bags required.
Standard Sand Coverage: 1 bag of 50 lb dry sand = about 0.5 cubic feet.
So, the simplified formula becomes:
Total Sand Bags = Trench Volume (cubic feet) / 0.5
Follow along with the example calculation:
Example Calculation:
Let's say you're installing a 6' x 8' loop with a 20 ft lead-in:
- Loop Perimeter: 6 + 6 + 8 + 8 = 28 ft
- Lead-in Length: 20 ft
- Trench Width: 2"
- Trench Depth: 3"
- Each sandbag covers 0.5 cubic feet
- Total Groove Length = Loop Perimeter + Lead-In Length
28 ft + 20 ft = 48 ft - Total Groove Length in Inches = Total Groove Length x 12
48 ft x 12 = 576 in - Trench Volume in Cubic Inches = Total Groove Length x Trench Width x Trench Depth
576 x 2 x 3 = 3456 cubic inches - Convert to Cubic Feet = Trench Volume (inches) / 1728
3456 / 1728 = 2 cubic feet - Number of Sand Bags = Trench Volume (cubic feet) / .5
2 / 0.5 = 4 bags - Round up and add 1 extra bag for safety/spillage = 5 total bags of sand
Adjust the variables above to match your project dimensions and determine how many bags of sand you'll need for a proper direct burial loop installation.