Installation Best Practices for Vehicle Loops in Parking Garages and Drive-Thrus

Most loop failures trace back to installation, not equipment. When a detector nuisance trips, the fault is usually in the wire coil buried in the pavement, and swapping the detector fixes nothing. The good news is that nearly every callback traces to a condition set the day the wire went in the ground, which means you can fix it cheaply up front. This guide walks through the five best-practice areas that keep detection reliable in high-traffic commercial lanes.
Start with Placement
Loop position determines performance before a single wire goes into the ground. Keep loops at least 4 feet from sliding or swinging gates; the gate should never come closer than 4 feet to a loop at any point in its travel, because no detector can distinguish the metal in a gate from the metal in a vehicle; on swing gates, reverse loops go on each side of the gate, two feet from each curb and four feet from the gate in its open position. Position garage entry and exit loops so they trigger on approach without reaching into the cross lane, and place drive-thru loops where the vehicle actually stops for service. Before installing anything new, remove or break up any abandoned loop left in the pavement: an old loop acts as a shorted turn and kills sensitivity, and if it shorts to ground it can trigger false detections strong enough to lock up the new detector entirely
Match the Loop Style to the Surface
The three preformed styles exist because the surface dictates the install; pick the wrong one, and the best placement and wire work in the world won't save the job.
| Loop Style | Best Surface | How It Goes In |
|---|---|---|
| Saw-cut | Existing concrete or asphalt | Groove cut into the pavement, wire set, slot sealed |
| Direct burial | New paving, concrete, or asphalt before the pour | Placed on grade, pavement goes down over it |
| Surface mount | Post-tensioned concrete in parking garages, where saw cutting is hazardous | Mounted above the slab, no cutting at all |
Do the Saw Cut Right
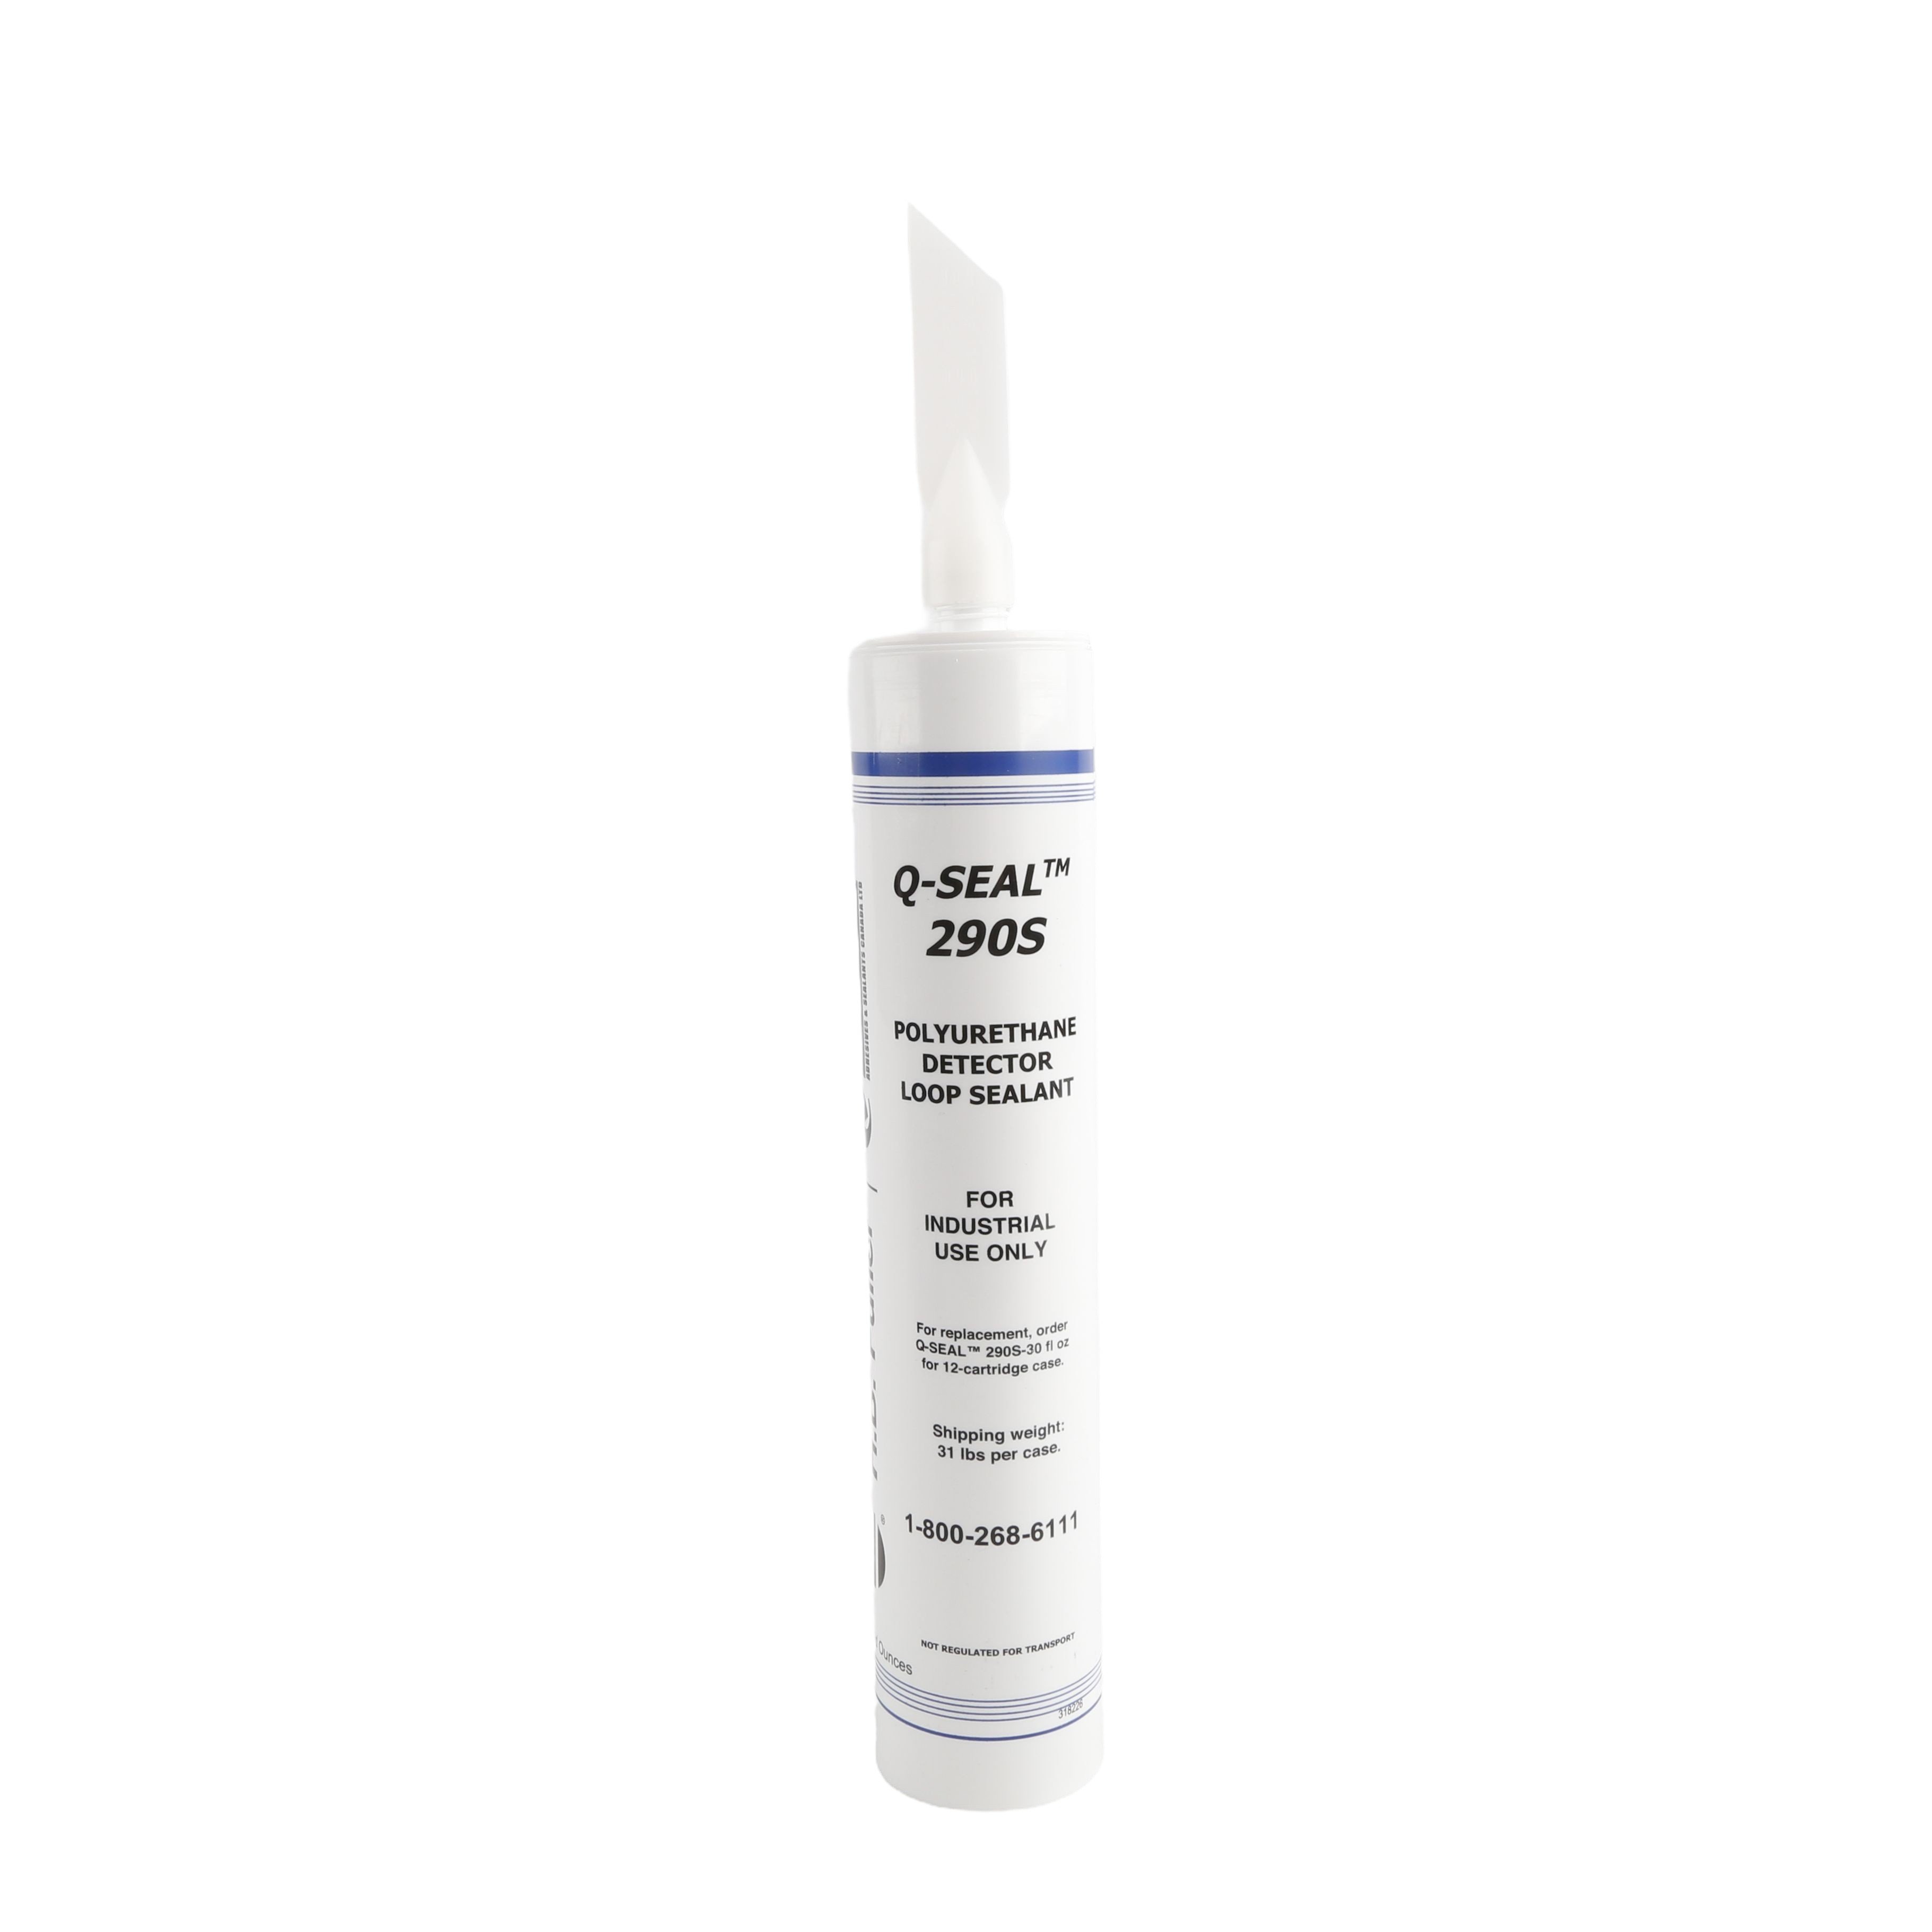
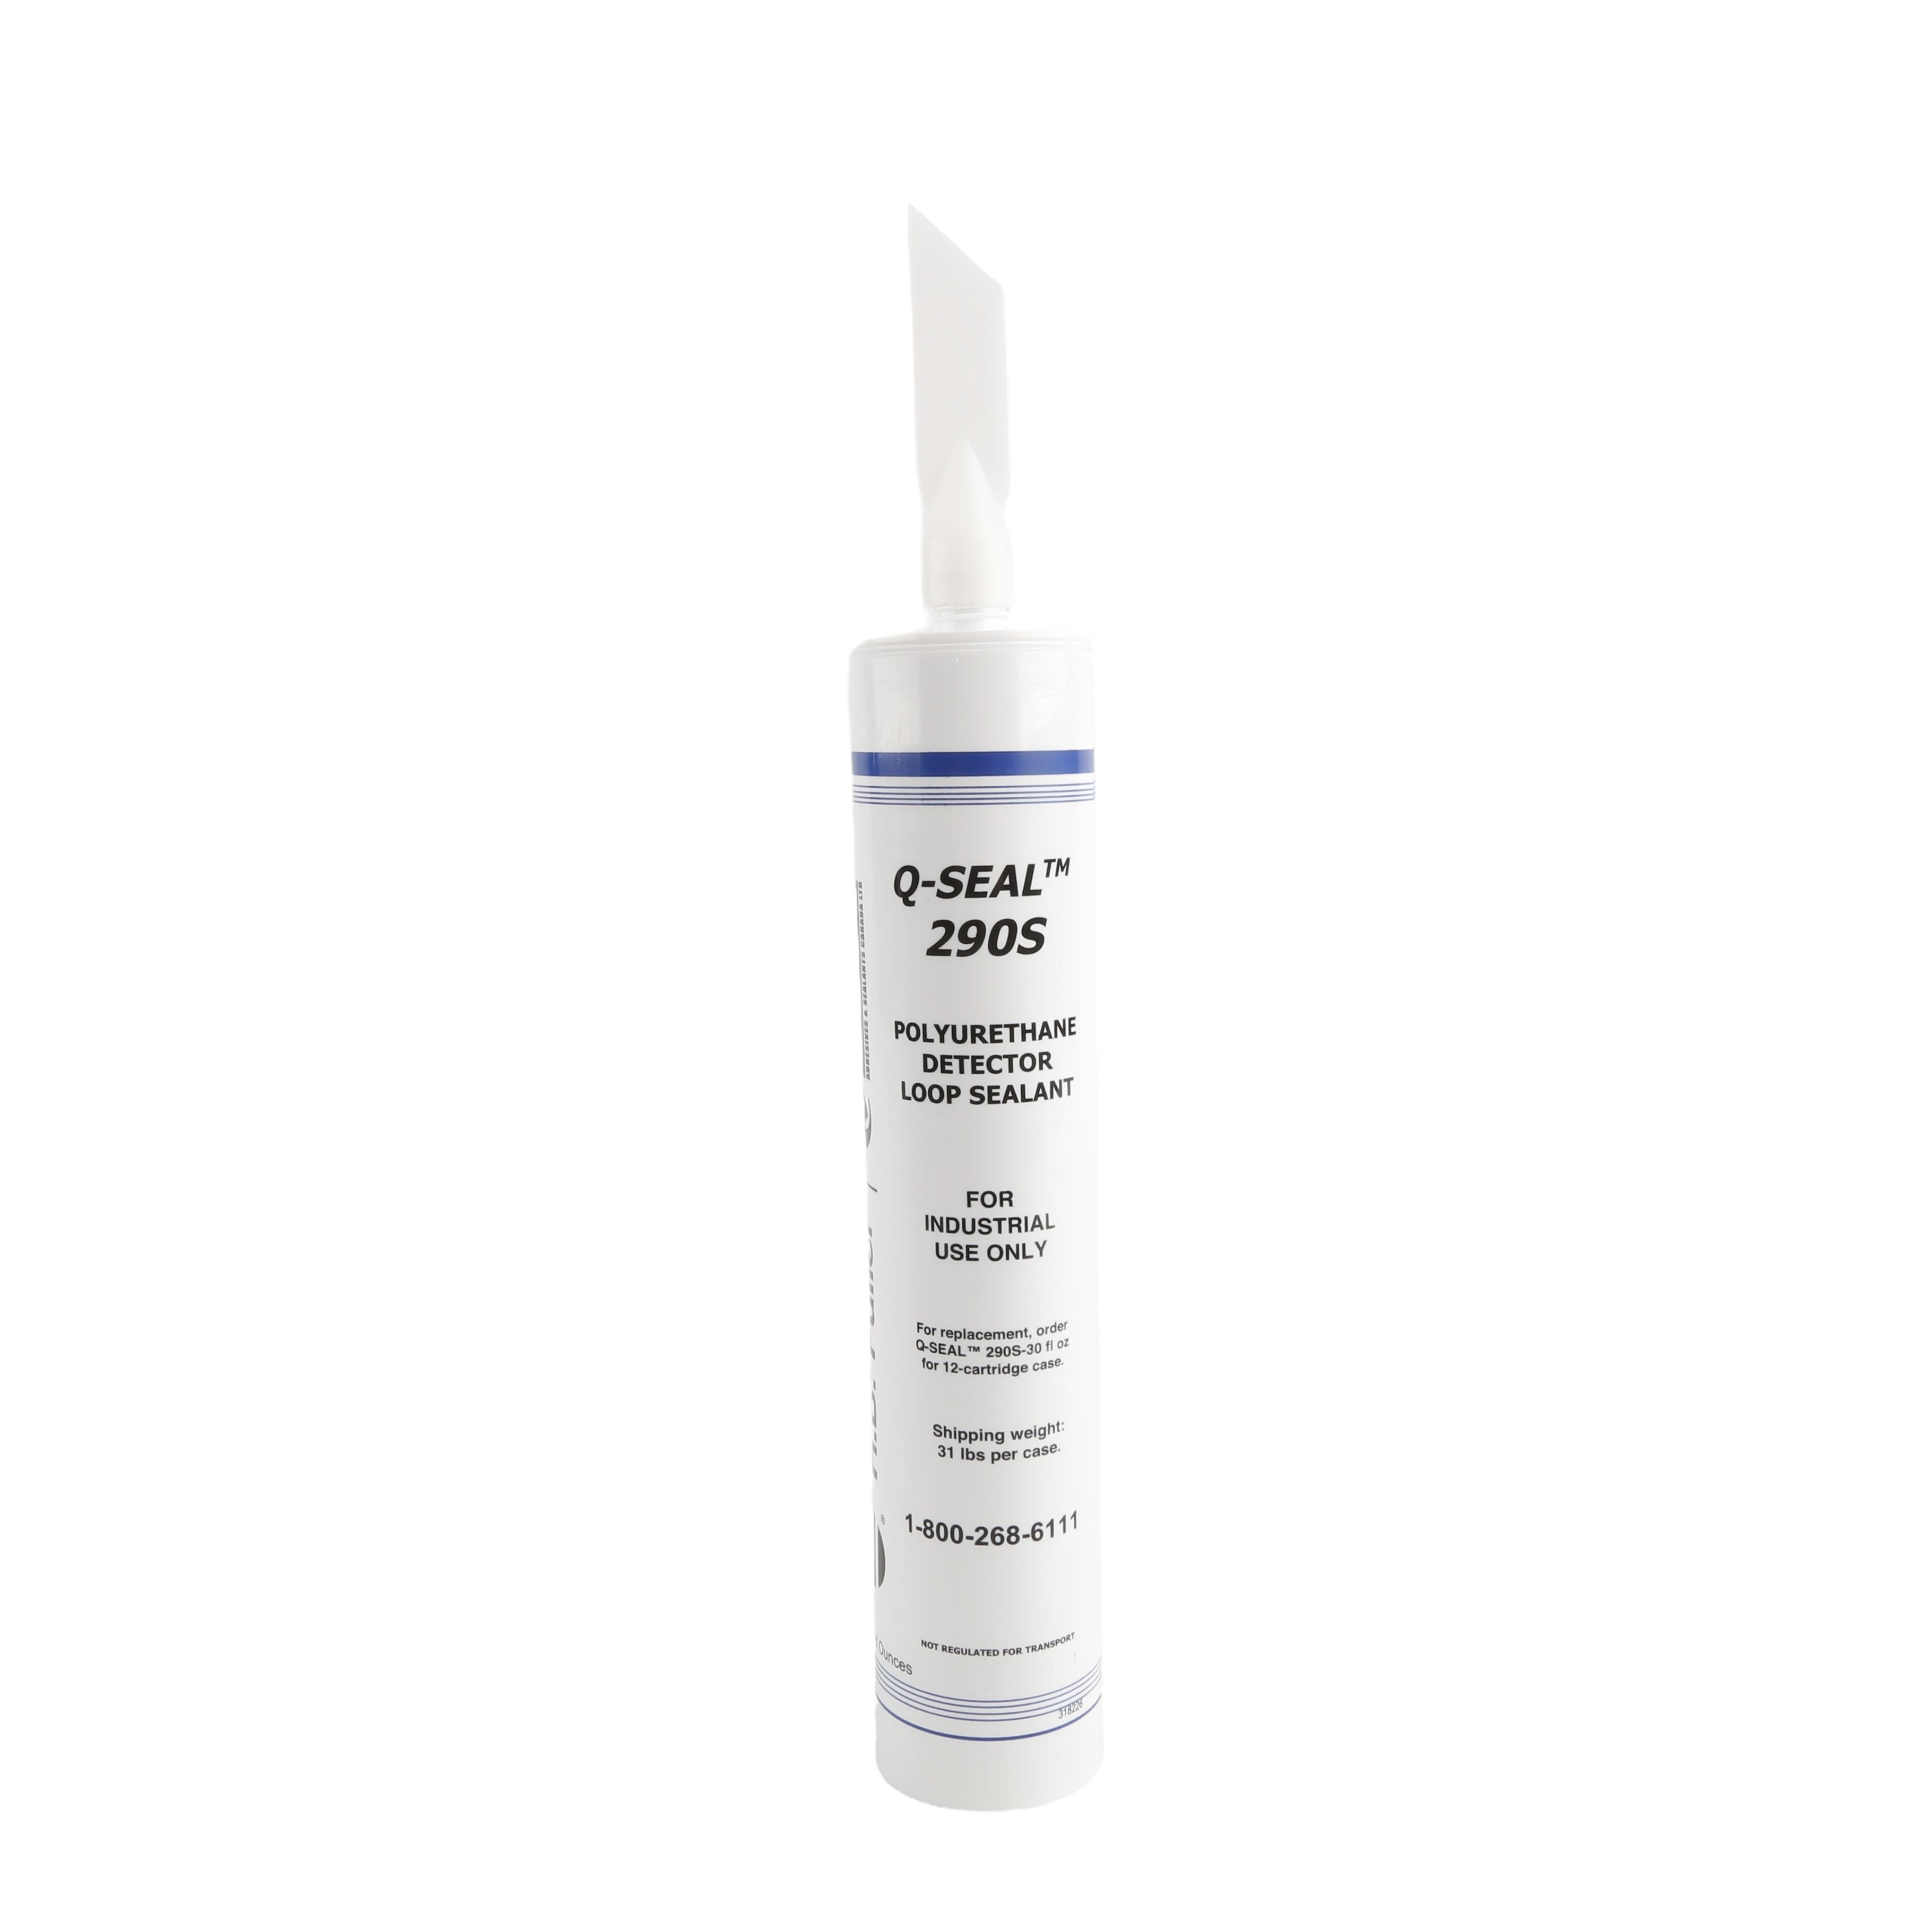
When cutting into existing pavement, cut roughly 1.5 to 2 inches deep with a 1/4" wide blade, and make 45-degree corner cuts starting 8" to 12" from each corner so the wire never has to bend around a sharp edge. Clean the slot with water and then blow it out with compressed air so no sharp particles are left to nick the insulation, hold the wire at depth with backer rod so it can't float or vibrate in the slot, and seal with a pliable traffic loop sealant that gives with pavement temperature changes rather than cracking with them
Wire, Splices, and Lead-Ins: Where Failures Start
Most loop failures happen at the wire, not the loop, so the material rules are non-negotiable. Use true loop wire, 16 AWG or larger stranded tinned copper with cross-linked polyethylene (XLPE) insulation rated 600V, and never THHN, whose thin nylon sheath nicks on sharp stones or tools and causes the intermittent lock-ups that show up a year after the truck leaves. The loop and its exit slot must be one continuous piece of wire with no splices anywhere in the installation; if you can't avoid a splice, solder it. Wire nuts and bare crimps oxidize at low loop current and are a leading cause of intermittent detector lock-up. Twist the lead-in at least 6 turns per foot the whole run back to the detector to prevent crosstalk and noise pickup, and keep adjacent drive-thru loops at least 4 feet apart so the two detectors don't trigger each other
Configure the Detector for the Setting
Installation doesn't end at the pavement; you must set the detector for how the loop is used. Connect safety loops in series and free-exit loops in parallel, and match the failure mode to the job: fail safe on a safety loop so a fault leaves the opening protected, and fail secure on free exit so a fault doesn't hold the gate open. Start sensitivity at a middle setting rather than maximum; installers max it out on the theory that more is safer, and at the top of the range the detector picks up every bit of noise the site work just avoided. Finally, use the boost and filter functions for the awkward cases: boost raises sensitivity after initial detection so a high-bed truck doesn't drop out mid-transit, and the filter rejects RF interference from police and EMS vehicles.
Ready to Get Started? Browse Our Loops!
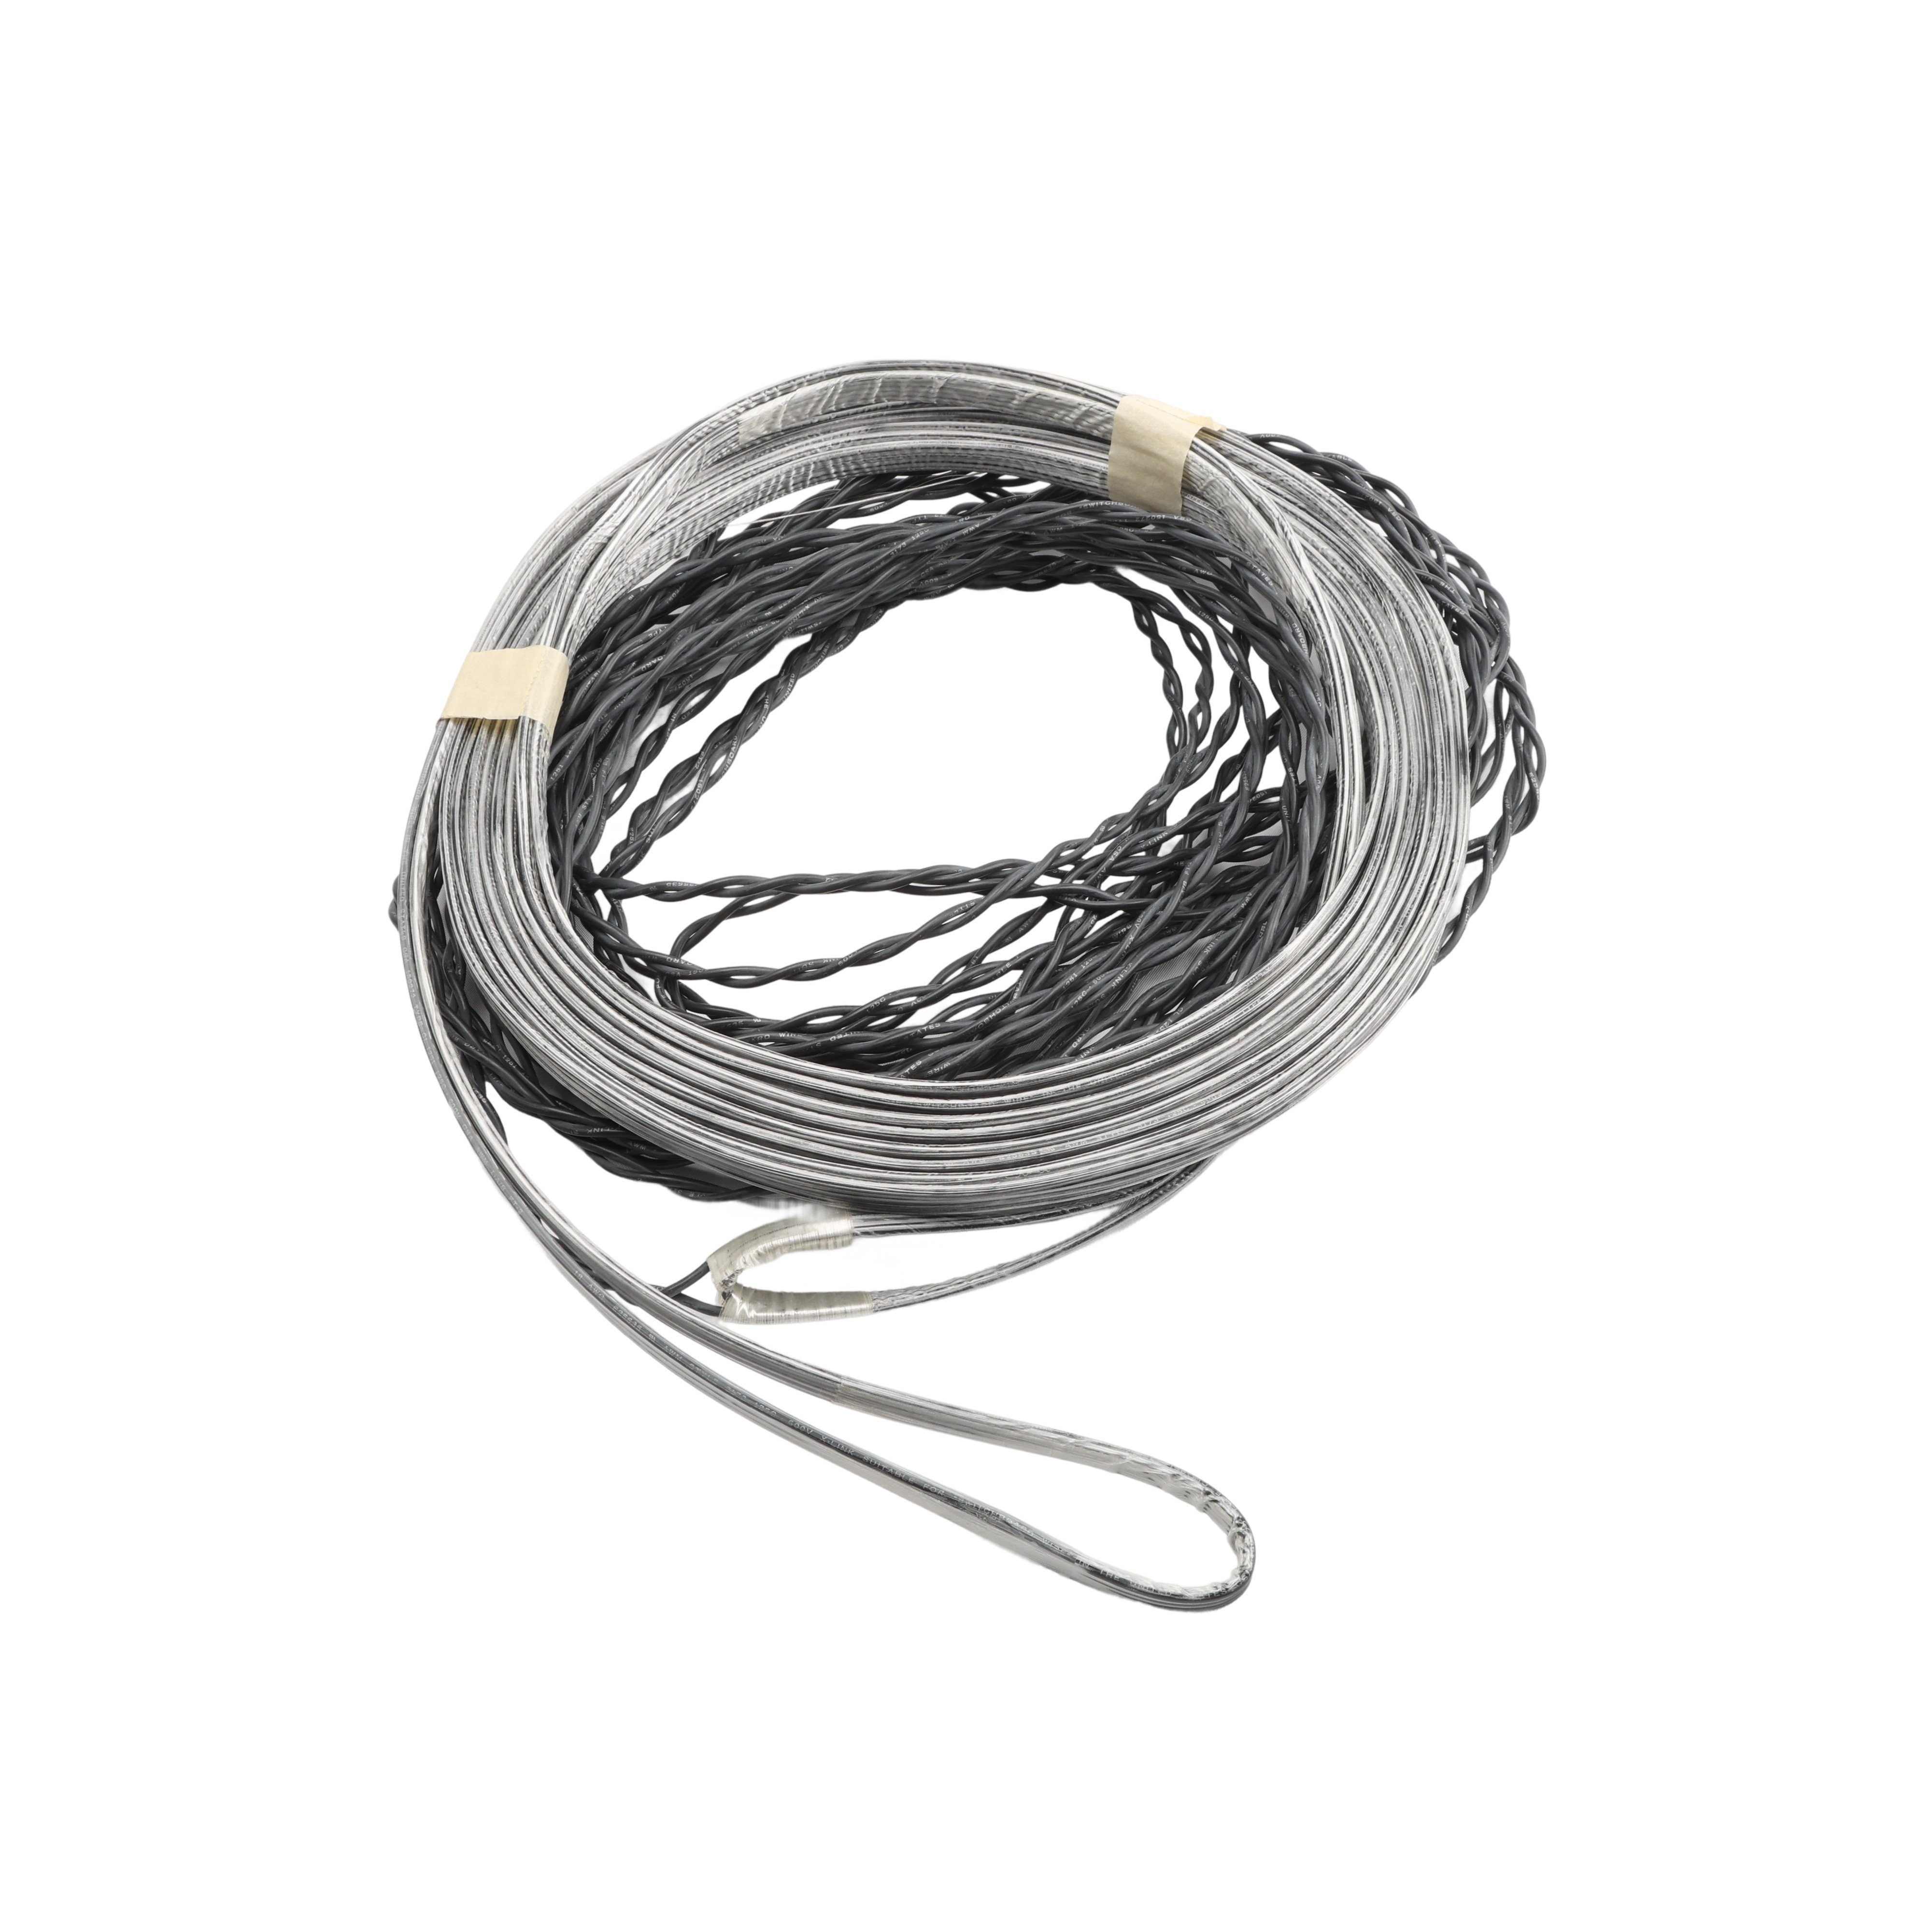
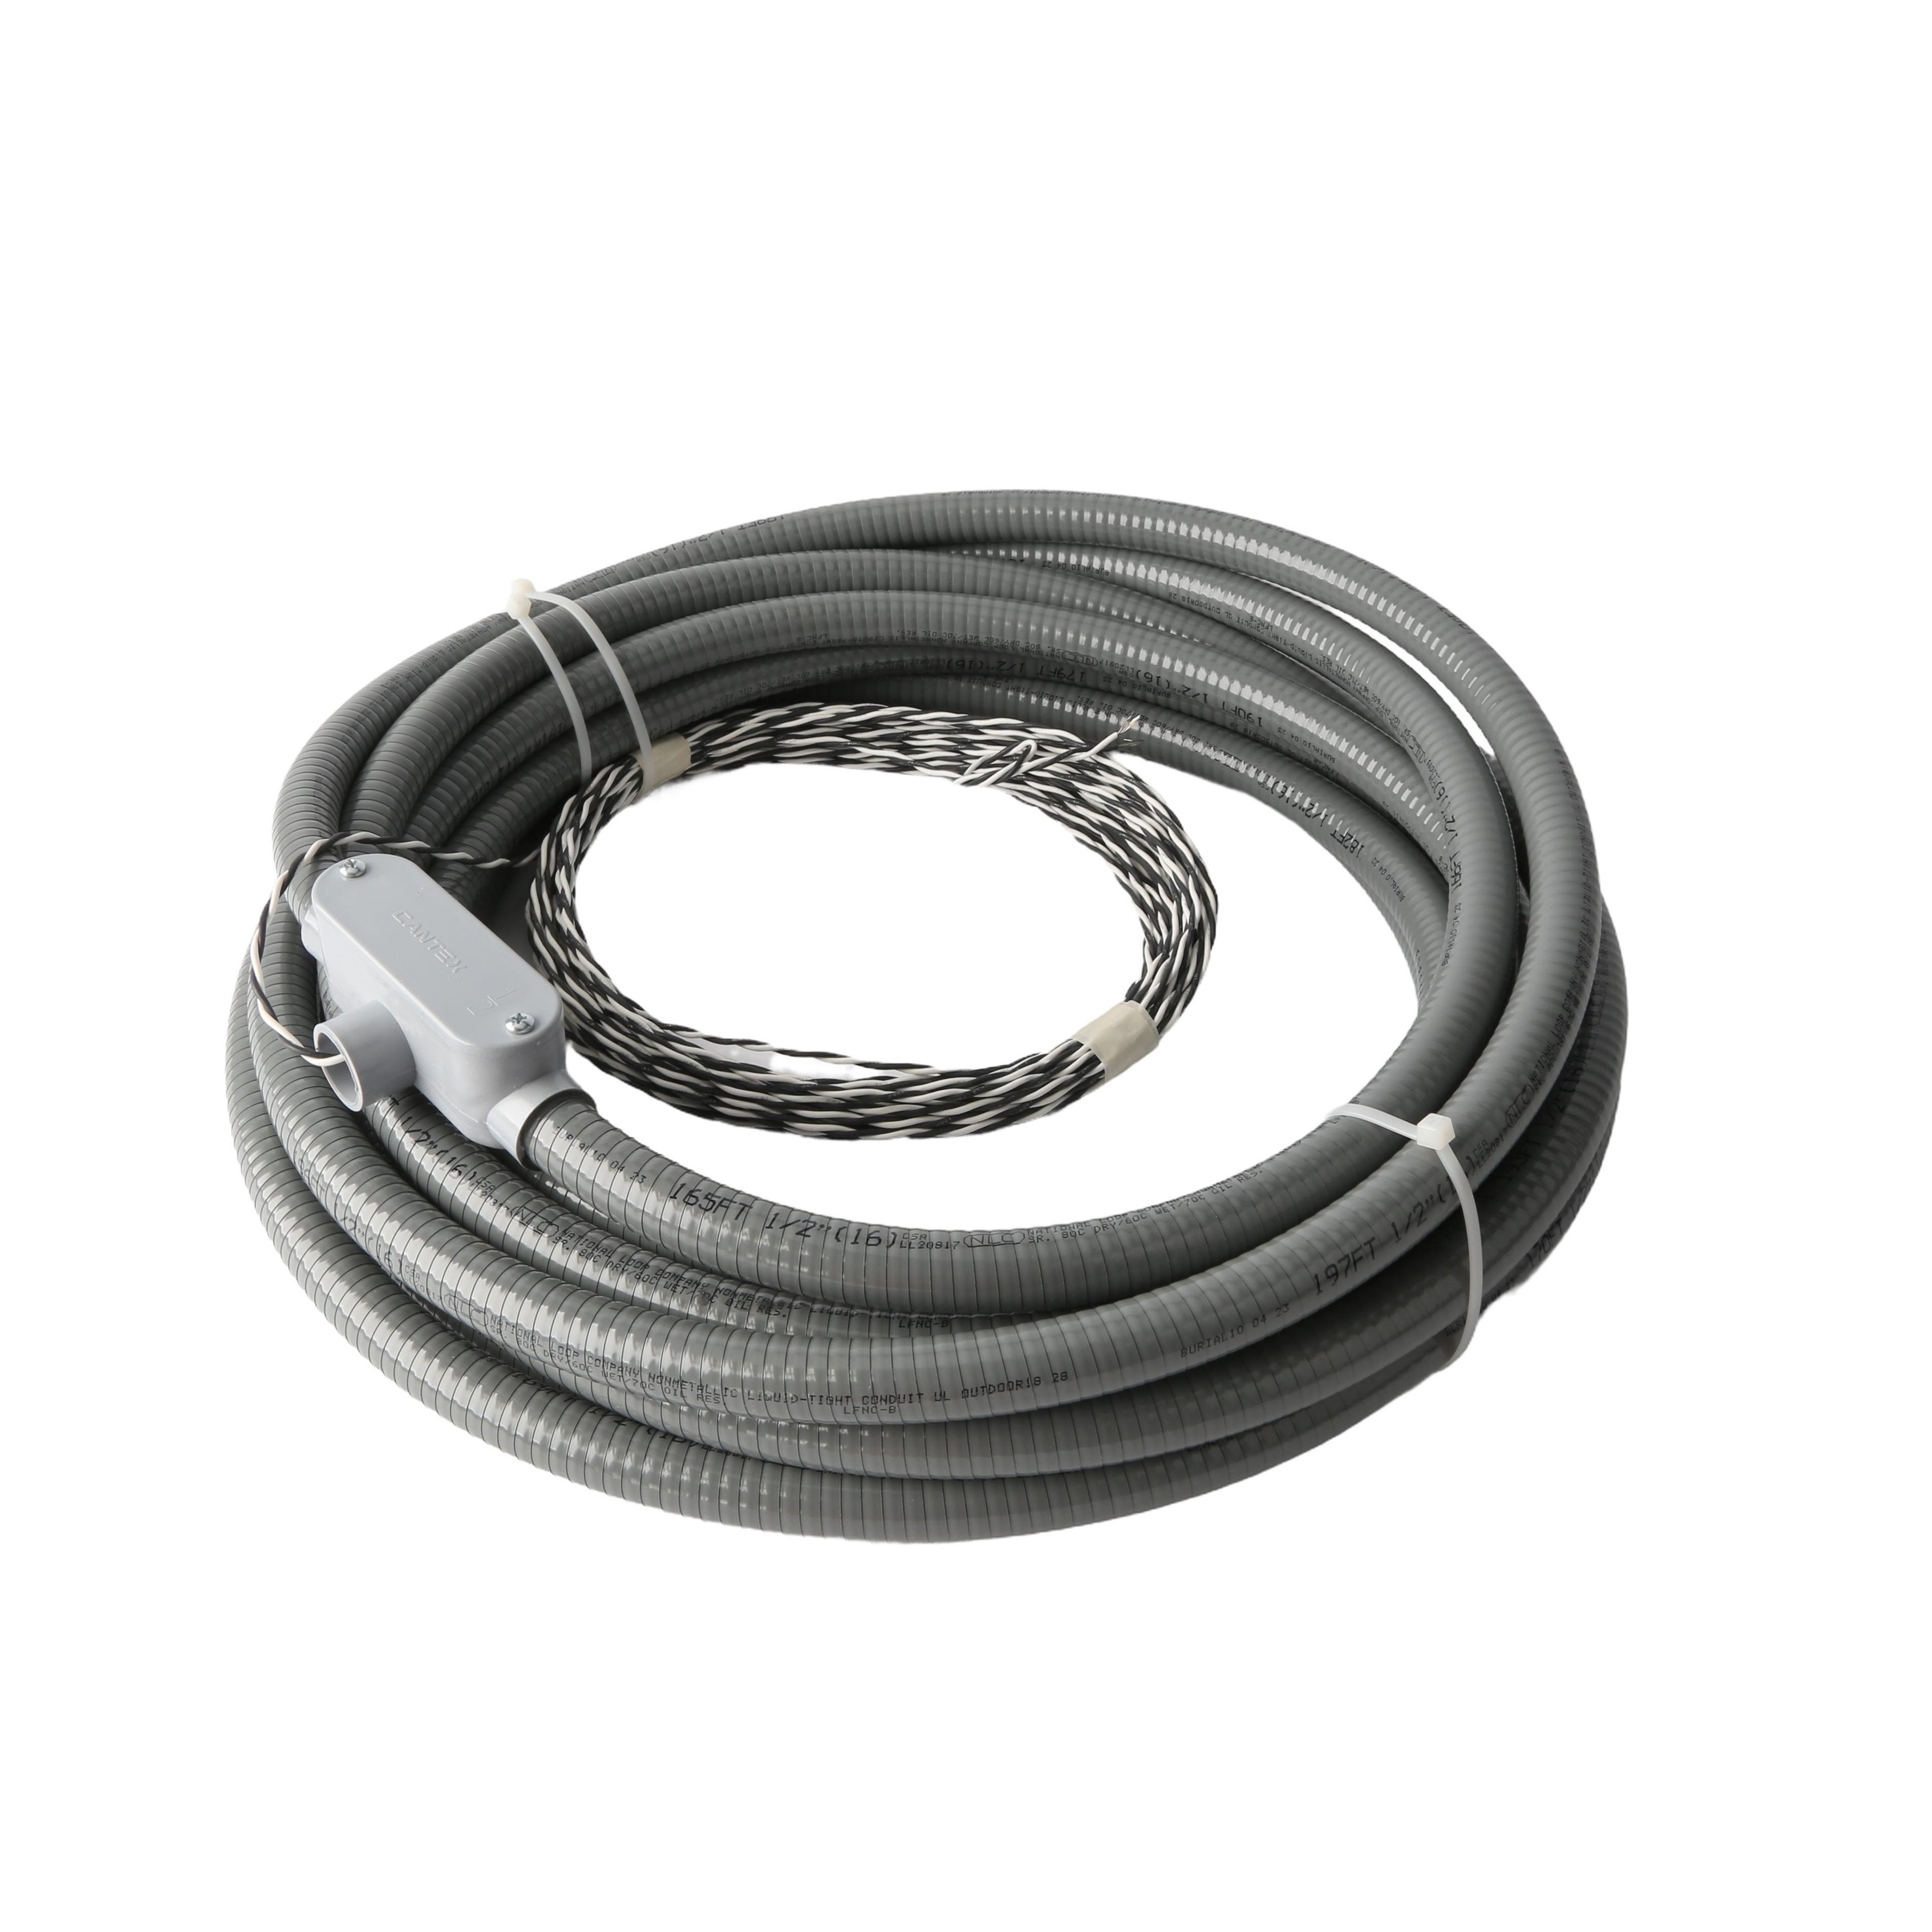
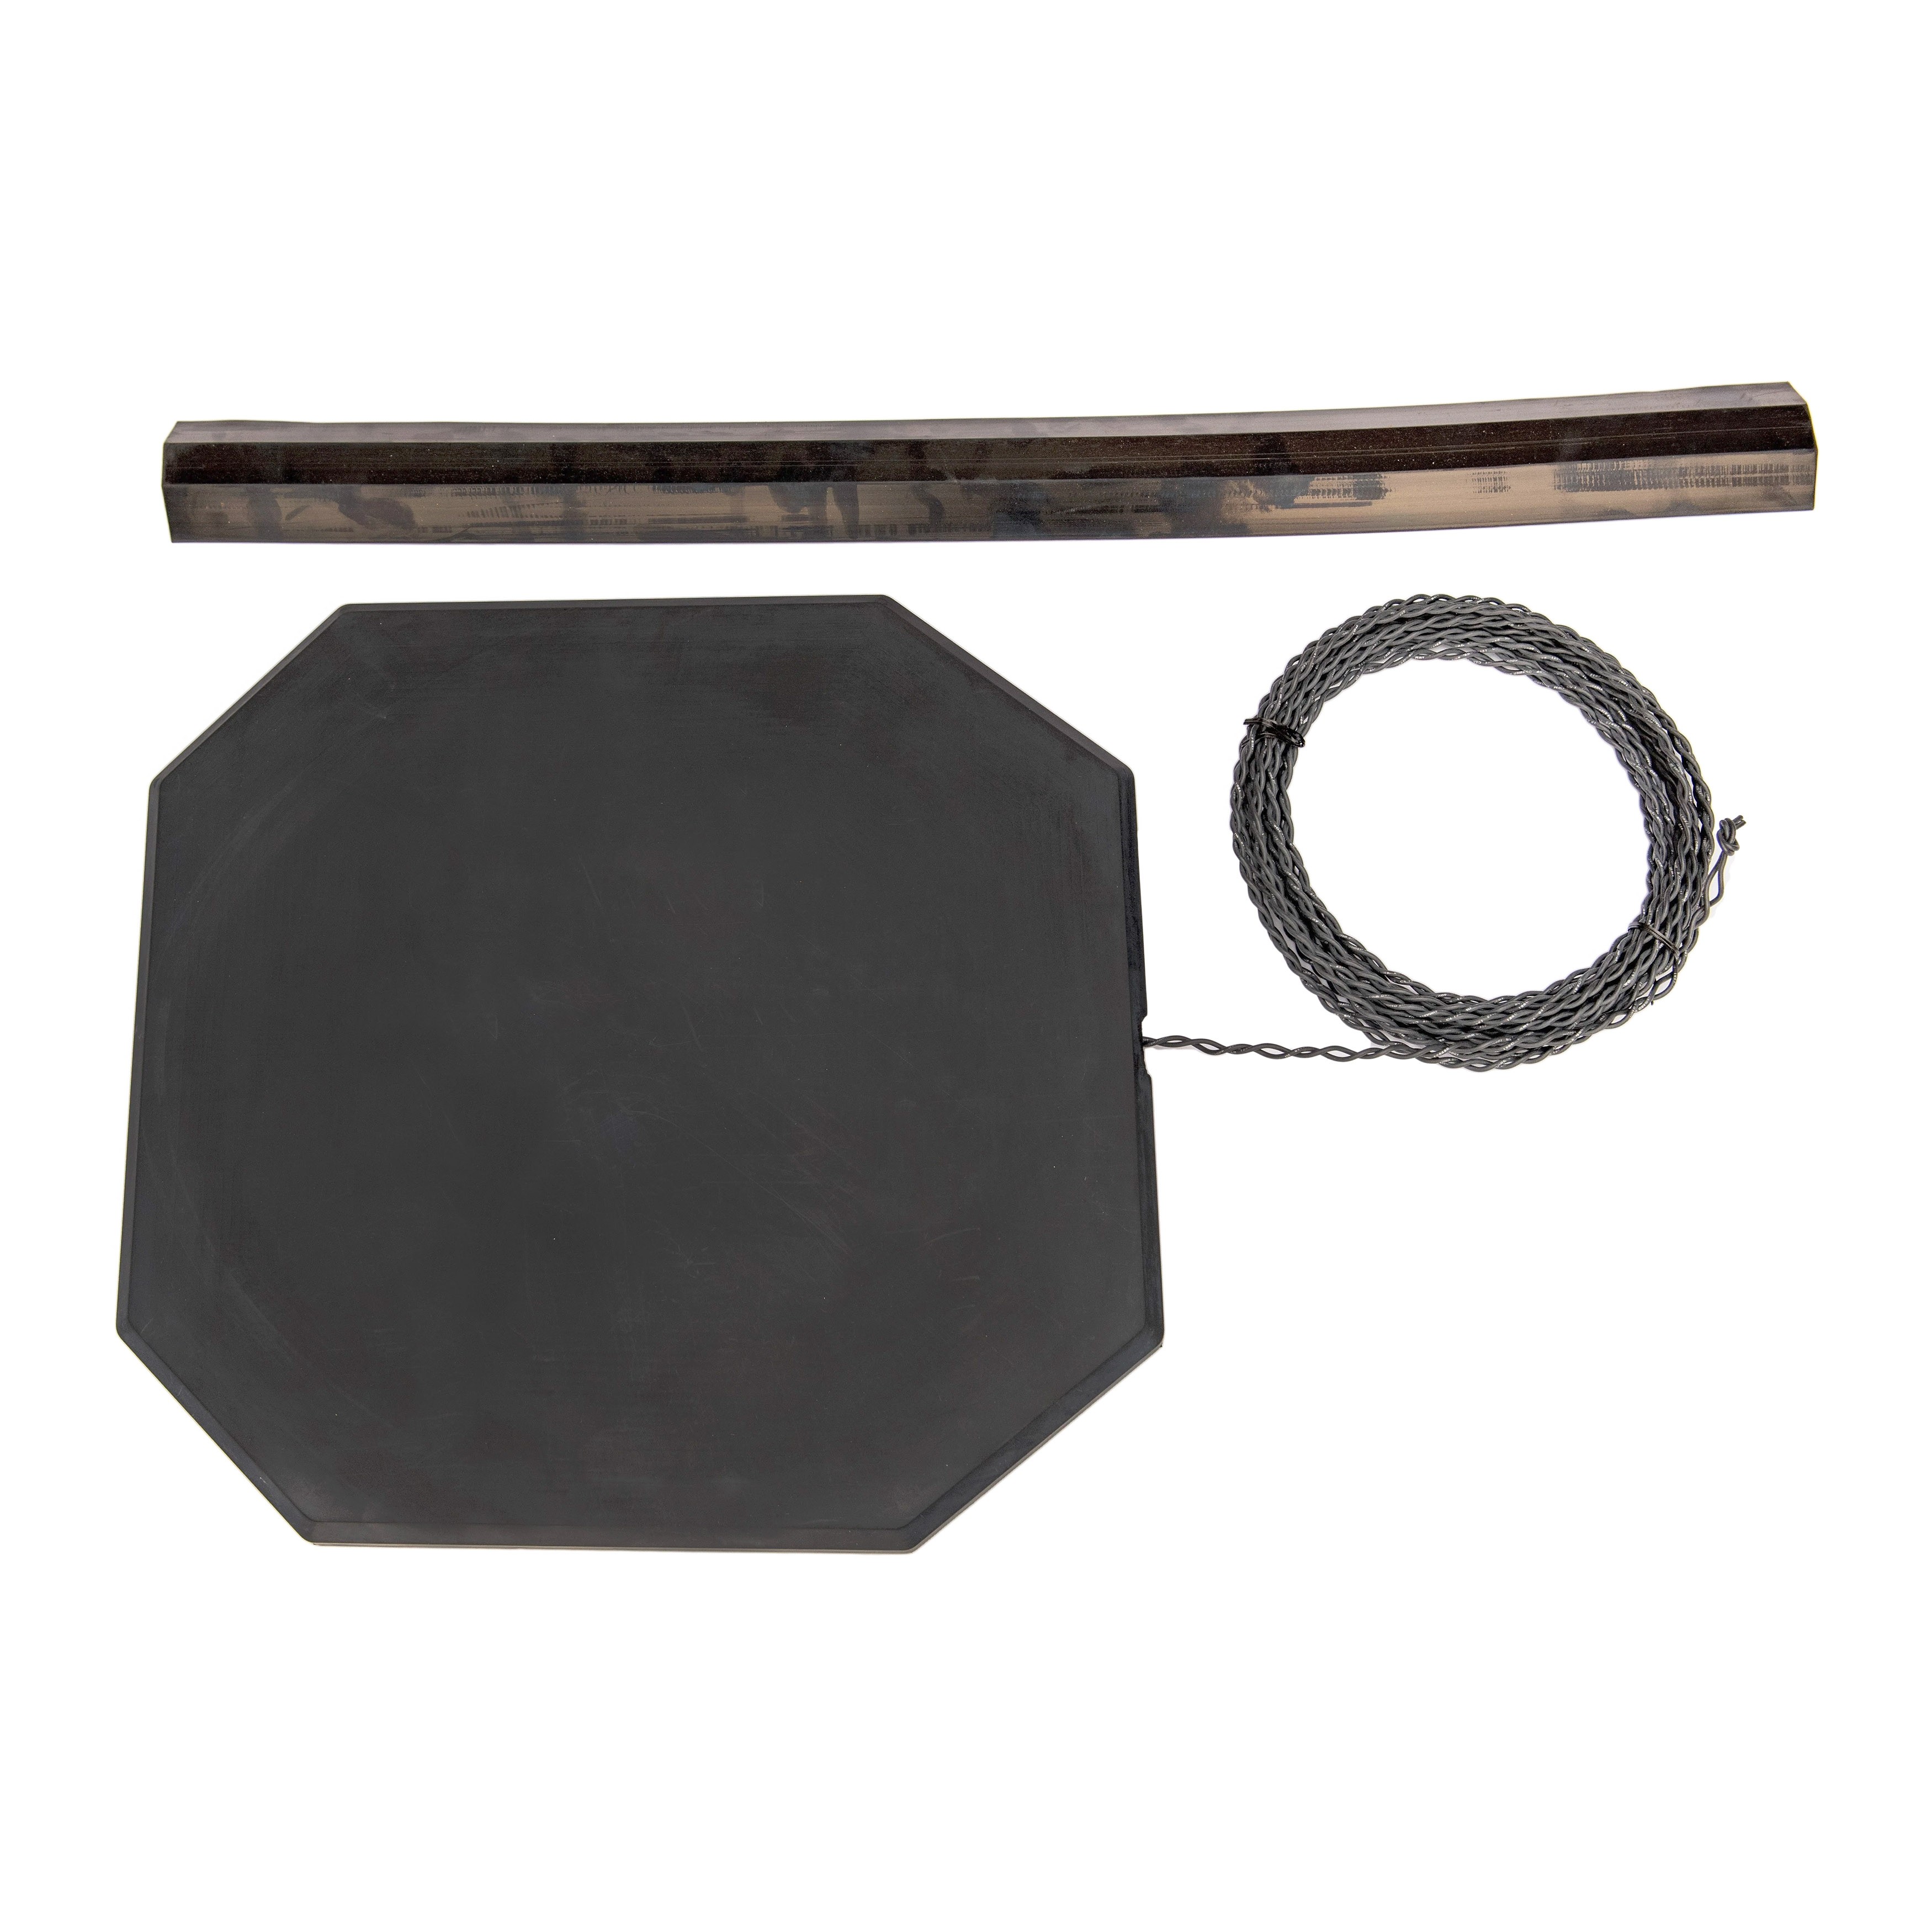
Placement, style, cut, wire, and configuration: get those five right and the detector takes care of itself. Every one of them costs less to do correctly on install day than to diagnose from a service truck a year later, and preformed loops from National Loop Company remove the on-site coil building where most of those mistakes happen: they arrive fully wound and ready to drop in.
If you have any further questions, please reach out to our representatives. They are happy to help in any way they can!
Contact Us